
 If you have a Facebook page set up for your business (and you should) then you’ve taken a great first step toward connecting with your customers and potential customers. The next step in connecting is to give them as many ways to interact with your page as possible. One of the simplest ways to do this is by enabling your Facebook Places Check-in feature. This allows anyone who enters your place of business to “check-in” with their smartphone. When they check-in to your place of business this activity willl post on their Facebook wall telling all of their “friends” that they are at your business. It’s free advertising….
Here are the steps to making this happen…
Enable this on Your Facebook Page
1. Add your business’s address in the Public Information settings
2. Check the box next to Show this map on my Page and save your changes
Check to see if you already exist
The first thing to do is see if your business already exists on Facebook. Whether or not you have an official Facebook page for your business, a local business page may exist. This happens if someone has checked in at your business before you have enabled the feature. Don’t worry….you don’t have to manage two pages now…we’ll fix it.
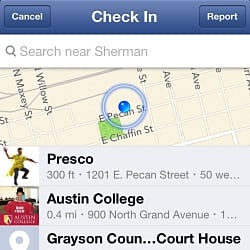
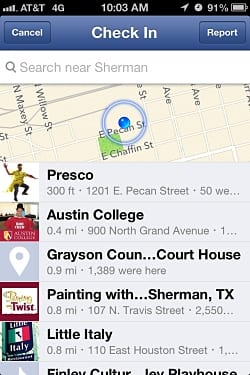
To see if you exist just do a quick search from the top bar of Facebook for your business.
Claim Your Facebook Places Page
If you find that your business already exists you need to claim the page. This is a simple process and takes only a minute.
- From the Page, click the “star” menu.
- Select “Is this your business?”
- Follow the steps that appear on your screen. Add and verify information about your business like the address and website and click Continue.
- Next, Facebook will ask you to claim your Page to prevent other people from becoming an admin without your permission. Choose to verify your connection to the business by Email, Phone number or by uploading Documentation:
- Email: Choose this option if you have an email address associated with your Facebook account that is officially issued to you by your business. Email addresses from generic providers like Yahoo! or Gmail will not be accepted. The email address should correspond to your business’s name (ex: jane.doe@acmeproducts.com).
- Phone number: Choose this option if you have a phone number that is publicly listed for your business. Personal cell phone numbers will not be accepted. Enter the phone number that your customers use to contact your business. Once you confirm your business phone number, you’ll receive a phone call with a unique PIN. Enter the PIN and click Verify.
- Documentation: Upload a scan or photo of an official document that shows your business’s name and address (ex: phone bill, business license, business tax file, articles of incorporation, etc.).
- Click Submit.
Merge Your Facebook Place & Facebook Page
The last step is to merge the two pages as one.
To merge your Pages:
- Make sure you’re using Facebook as yourself and not as your Page
- From the top of the Page you created for your business, click “Edit Page”
- Select “Edit Settings”
- Select “Merge Pages” and click “Merge duplicate Pages”
- Fill out the form and click “Send”
This process will combine all likes and check-ins on your official page and from this point on users will be able to find your page and check-in.